Let’s be honest. The AI video landscape is an absolute circus right now. Every single day, a new “revolutionary” tool pops up on your feed, promising Hollywood-grade cinema with a single click. But if you’ve actually sat down and tried to make a cohesive film, you already know the painful truth: most of these tools are overhyped toys. You end up with disjointed characters, chaotic art styles, and a lighter wallet.
The problem isn’t the technology; it’s the lack of a structured pipeline. You don’t need a bloated subscription stack of fifteen different platforms. After endless hours of testing, trial, and error, I can confidently tell you that you only need three core tools to build a professional, highly controlled AI video creation workflow.
In this deep-dive guide, we are going to break down this battle-tested system: moving from a raw story idea to a rock-solid, visually consistent storyboard using the power of customized language models, advanced image generation engines, and fluid motion models.
| Phase | The Tool | Core Purpose | Pro Tip |
|---|---|---|---|
| 1. Prompt Engineering | Claude AI (Custom Skill) | Automates complex prompt writing for design sheets and storyboards. | Use custom system instructions to ensure style consistency across generations. |
| 2. Visual Pre-Production | OpenArt (GPT Image 2) | Generates high-fidelity design sheets & storyboards. | Render storyboards in 4K and use the design sheet as an image-to-image reference. |
| 3. Animation | Seedance 2.0 | Breathes motion into static storyboard panels. | Keep camera motions subtle to avoid surreal morphing artifacts. |
1. The Brain: Training Claude AI as Your Personal Prompt Director
Every great film starts with a script, but in the realm of AI, our script must be translated into highly technical prompts. This is where most creators fail. They type a simple sentence like “a father and daughter escaping a volcano” into an image generator and pray for the best. The result? Inconsistent characters, messy compositions, and zero cinematic control.
To bypass this, we use Claude AI. While Claude doesn’t generate video directly, it acts as our automated prompt director. Instead of writing raw prompts ourselves, we train Claude with a custom “skill”—essentially a highly structured system prompt that teaches the AI how to think like a cinematic prompt engineer.
My custom skill trains Claude to output three distinct types of prompts:
- The Design Sheet Prompt: Establishes the visual identity, character turnarounds, color palettes, and environmental rules.
- The Storyboard Prompt: Translates our narrative sequence into a series of distinct panels, keeping character features locked in.
- The Video Generator Prompt: Optimizes static images for motion models, instructing them on camera movement, pacing, and physics.
When you look at the interface setup below, you can see how these distinct skills are structured within Claude to separate the creative phases and eliminate the guesswork from prompt engineering.
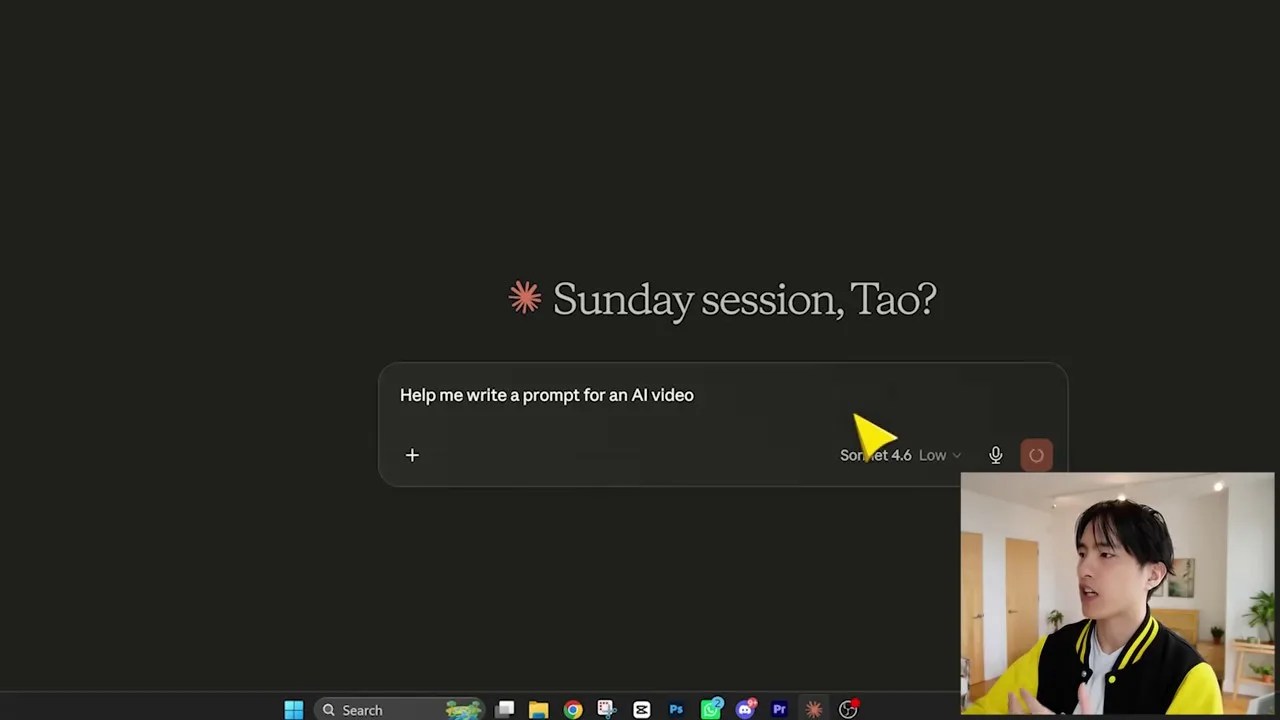
Figure 1: Claude AI configured with custom skills to generate highly targeted design sheets and storyboards.
2. Setting Up the Custom Skill (Step-by-Step)
Setting this up in your own workflow takes less than two minutes. Anthropic’s Claude allows you to customize your chat experience by uploading specific instructions or system files.
The setup is incredibly straightforward. As captured in the UI screenshot below, you simply navigate to the customize menu and upload the automated prompt writer skill file. Once dragged and dropped into the interface, Claude adopts this persona permanently for that project, ensuring that every output matches the precise formatting needed for advanced image generation models.
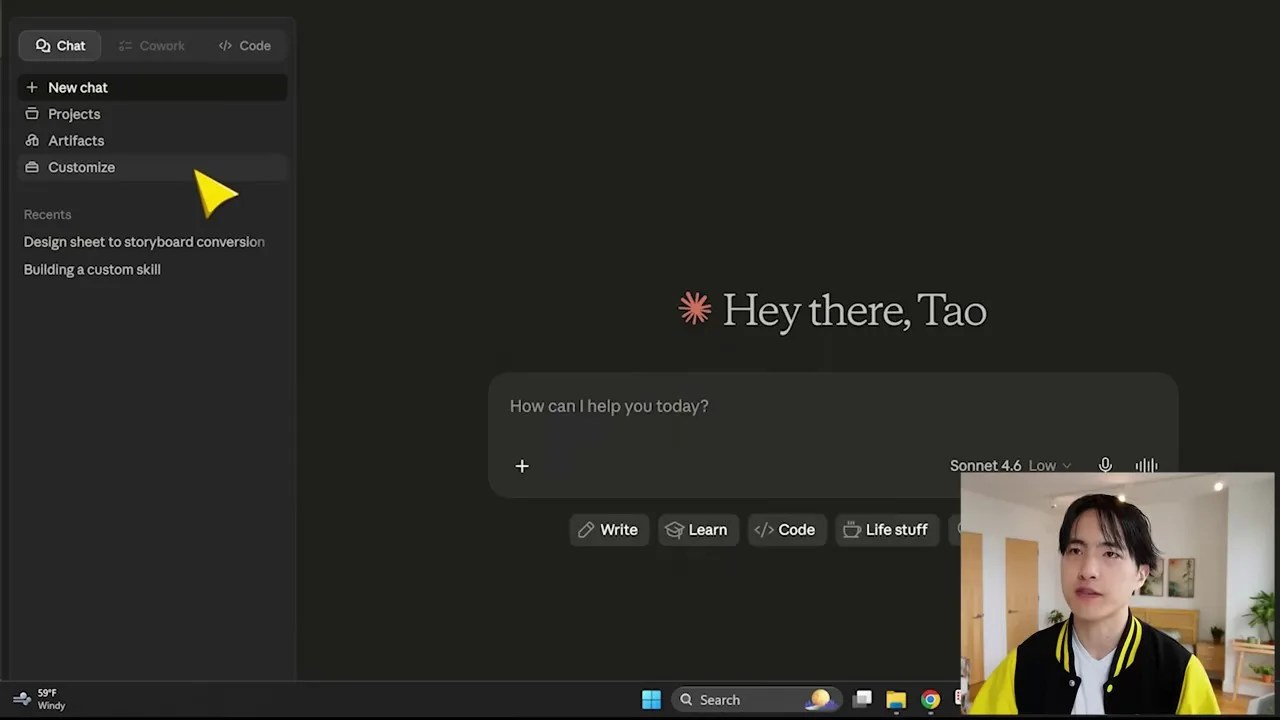
Figure 2: Navigating Claude’s Customize feature to upload and initialize our custom prompt-writing skill.
3. Creating the Visual Blueprint: The Magic of Design Sheets
Now that the brain is configured, we can begin production. For this project, I wanted to create a short, atmospheric sci-fi sequence: An apocalyptic event where a massive volcano has erupted, leaving a city covered in ash, while a father and daughter attempt to escape.
I feed this raw concept into Claude. Instead of giving me a generic story, Claude’s custom skill immediately generates a hyper-detailed, structured prompt specifically designed for a visual design sheet.
Figure 3: Claude processing our raw apocalyptic concept and generating a structured prompt for the design sheet.
To bring this prompt to life, we move to our second tool: OpenArt. Specifically, we are going to use the GPT Image 2 model. In my experience, this model is unparalleled when it comes to following complex, multi-subject prompts and keeping layouts organized.
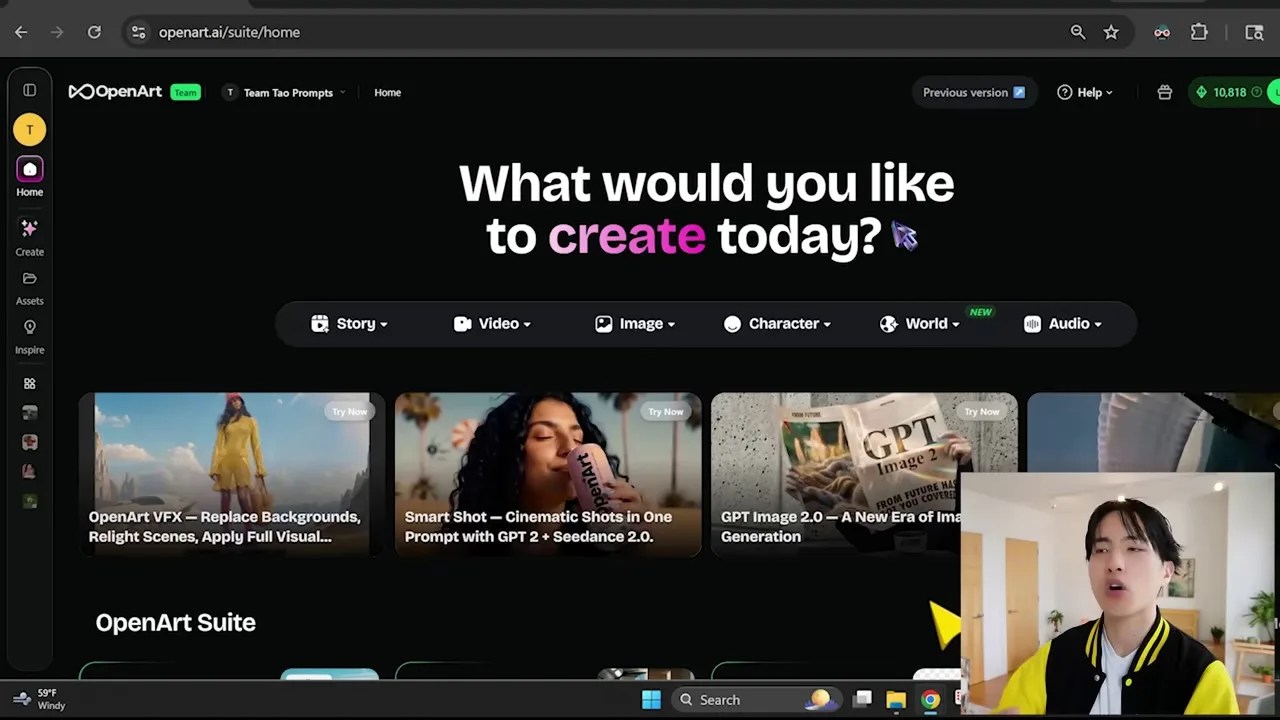
Figure 4: Setting up the generation parameters in OpenArt, utilizing the highly flexible GPT Image 2 model.
Before hitting generate, I highly recommend setting the output resolution to at least 2K. A design sheet is packed with dense visual information—character faces, outfits, props, and environmental swatches—and the model needs that extra pixel density to render everything cleanly.
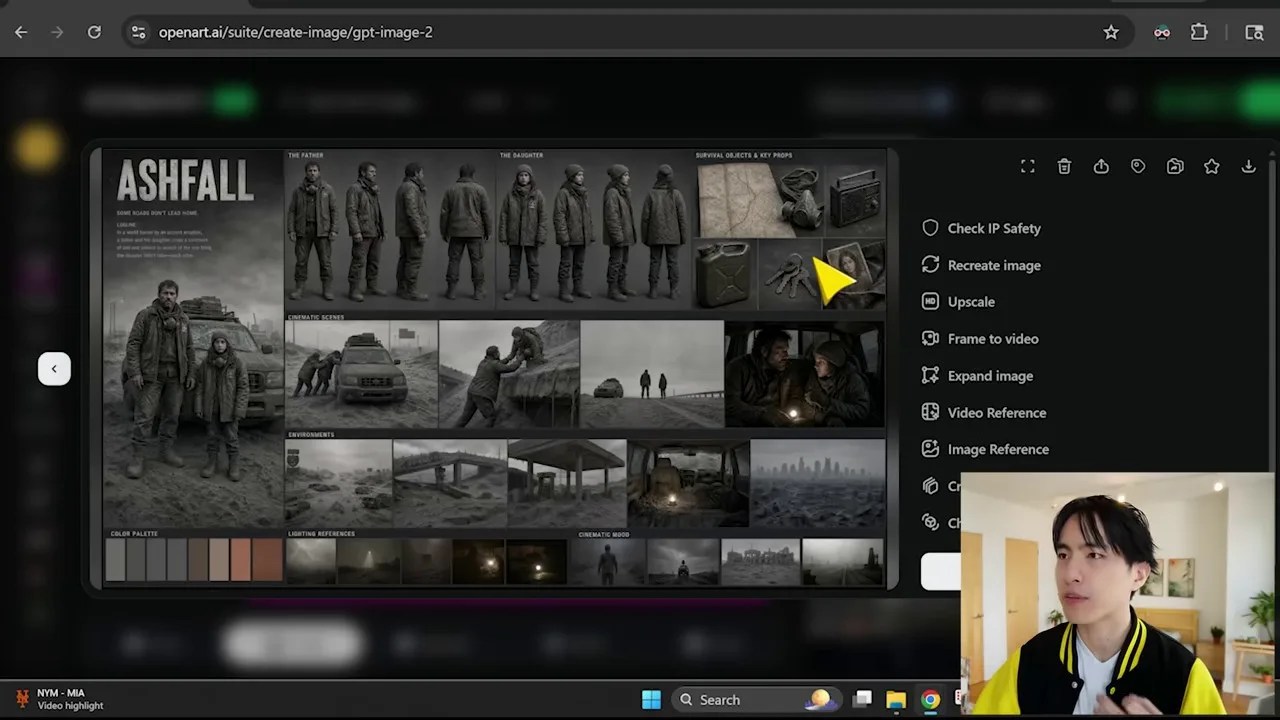
Figure 5: The generated design sheet, providing a rock-solid visual foundation for our characters and world.
The resulting generation is spectacular. We get a clear look at our two characters, the ash-covered environment, the key props, and a unified color palette dominated by muted grays and fiery embers.
But what if you aren’t completely satisfied with the vibe? That’s the beauty of this workflow. If the aesthetic feels too bleak or dreary, you don’t start over. You simply go back to Claude and say: “The design sheet is a bit too gray and dreary. I want some bolder, more vivid orange and amber tones in the lighting.” Claude will instantly adjust the prompt formulas, allowing you to lock in your exact artistic vision before wasting a single second on animation.
4. Prototyping on a Budget: Storyboarding Before Animating
Here is a golden rule of filmmaking that applies doubly to AI: never animate before you storyboard.
Generating video is slow, computationally expensive, and burns through subscription credits faster than you can say ‘render.’ Generating images, on the other hand, is fast and incredibly cheap. Storyboarding allows us to prototype our entire narrative, check the pacing, and ensure visual continuity without spending a dime on video generation models. It is the core engine of our AI video creation workflow.
To build our storyboard, I upload our chosen design sheet back into Claude. This gives the model a direct visual reference. I then instruct the prompt writer skill to create a sequence showing the father and daughter escaping the city ruins and searching for fuel.
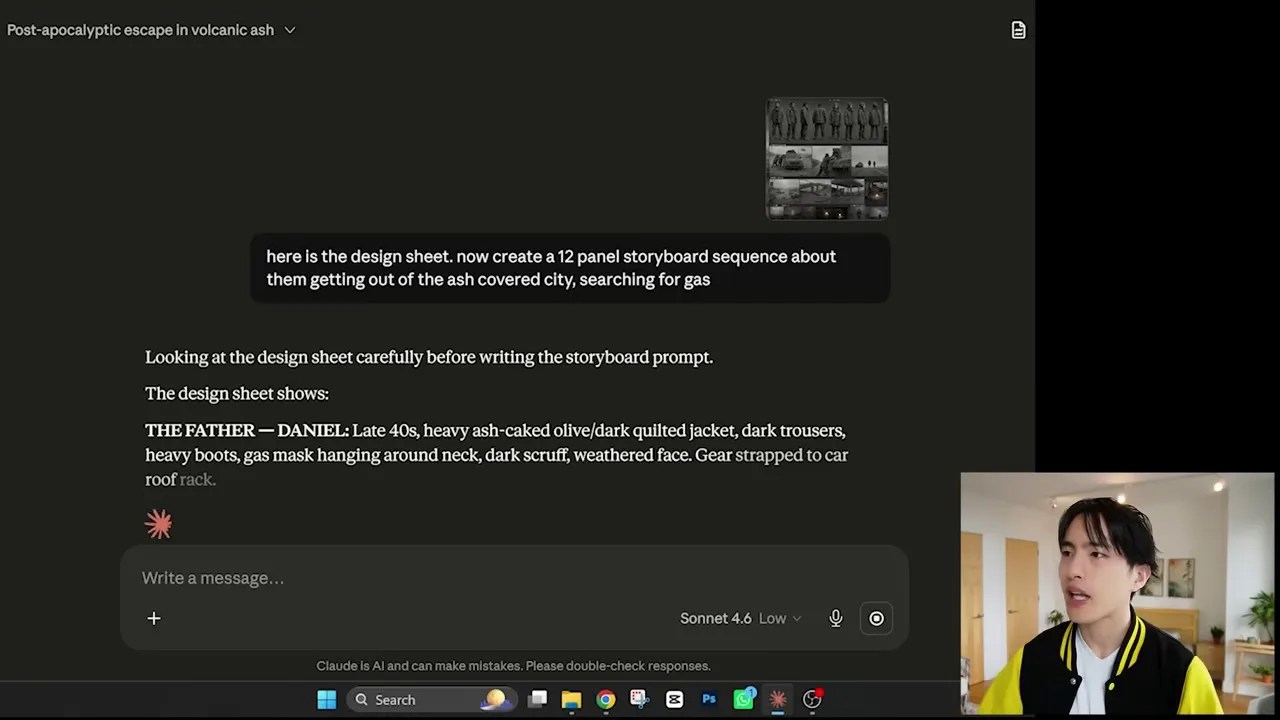
Figure 6: Claude translating our visual design sheet and narrative goals into a panel-by-panel storyboard prompt.
Claude analyzes the design sheet and outputs a highly optimized storyboard prompt, breaking the sequence down into distinct panels.
Now, we head back to OpenArt to render the storyboard. But here is the secret sauce: do not just paste the text prompt. Drag and drop your design sheet into the image generation interface as a visual style reference.
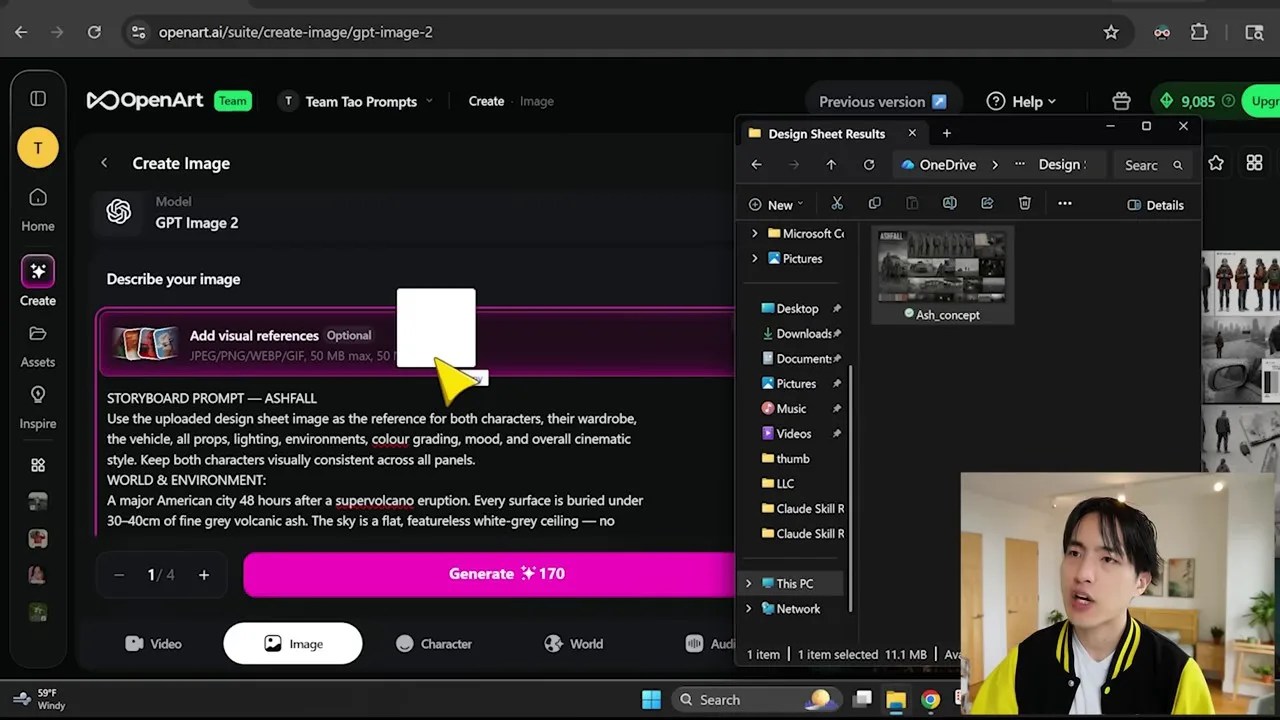
Figure 7: Combining the text prompt with our design sheet as a style reference in OpenArt to enforce visual continuity.
By pairing the text description of the storyboard with the actual visual sheet, we force the image model to maintain the exact character features, clothing colors, and smoky lighting style across all generated panels. For this stage, I recommend pushing the resolution up to 4K. Because we are rendering multiple panels within a single canvas, high resolution is vital so we can crop individual shots later without losing sharpness.
5. Fine-Tuning and the “Self-Insertion” Hack
No matter how powerful your AI image generator is, raw outputs will occasionally suffer from spatial hallucinations. During my generation runs, I noticed a couple of classic AI quirks. In one shot, the daughter was supposed to be pointing at a map, but the engine rendered her finger pointing weirdly behind the paper. In another shot, she was looking down at a worn photograph, but the image on the photo was physically facing the viewer instead of her.
Instead of throwing away the entire storyboard, you can resolve these issues with minor, surgical prompt adjustments. For the photograph shot, I simply went back into Claude’s prompt structure and added a highly specific spatial constraint: “only the back of the photograph is visible.” This quick fix instantly corrected the perspective, showing the blank back of the paper to the camera while keeping her downward gaze perfectly intact.
But here is where this AI video creation workflow gets incredibly exciting: you can actually insert yourself directly into the cinematic universe.
If you want to play the lead character in your own AI film, you can upload a simple grid of photos of your own face alongside the design sheet prompt in OpenArt. By using your photos as a face/style reference, the image generator will seamlessly blend your features onto the characters in the design sheet and, subsequently, the storyboard panels. This level of personalization completely changes the game for indie creators and solo filmmakers.
6. Enter Tool #3: Animating the Storyboard with Seedance 2.0
With our storyboard finalized and polished, we are ready for the final step: breathing life into these static frames. To do this, we turn to the third tool in our stack: Seedance 2.0, which is currently one of the most powerful and motion-consistent AI video models available.
In the video creation suite on OpenArt, make sure you select Seedance 2.0 as your primary video model, as shown in the interface layout below. This model excels at processing complex reference images and translating them into fluid, natural motion.
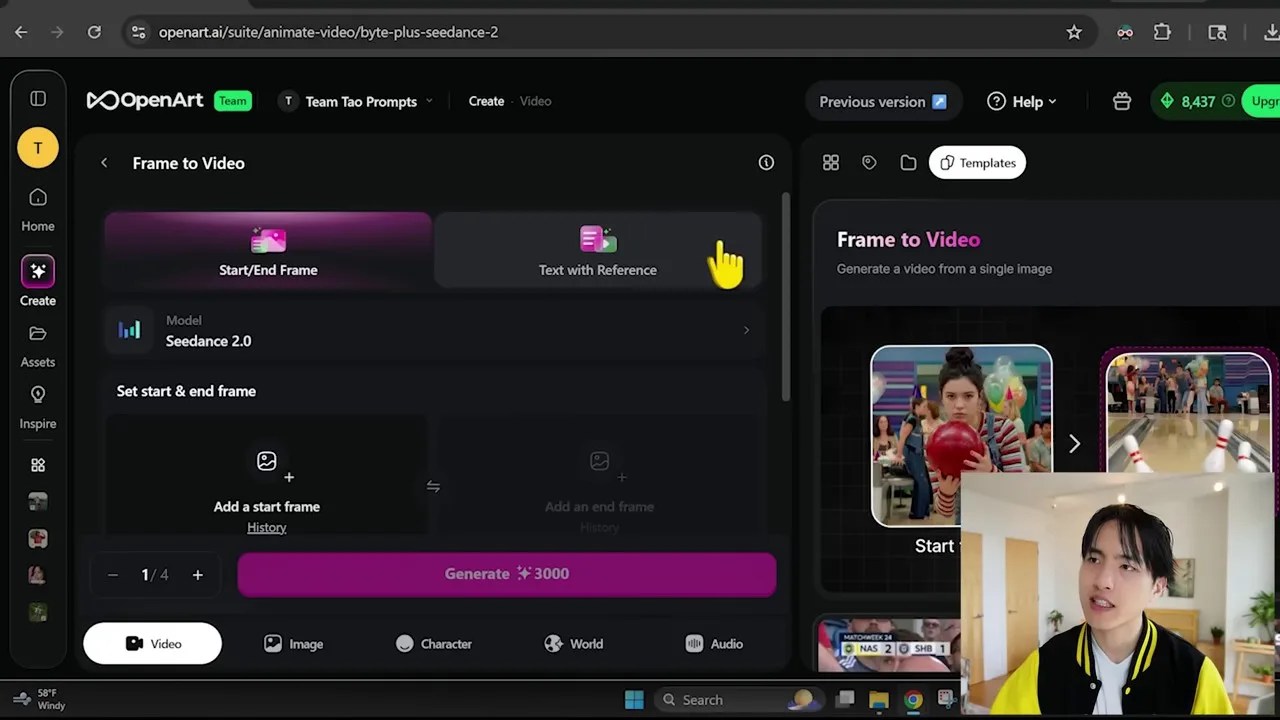
Figure 8: Accessing the video generation interface in OpenArt and selecting the Seedance 2.0 engine.
To begin the animation process, choose the “Text with Reference” option. The setup requires three key inputs to ensure the AI doesn’t lose its way:
- The Storyboard Image: Upload your storyboard panel and use the `@storyboard` tag in your prompt to explicitly tell the engine what it is looking at.
- The Design Sheet: Attach your original design sheet as an additional visual reference to keep character outfits and environmental aesthetics locked in.
- The Motion Prompt: Write a simple prompt describing the narrative sequence. Always append a negative instruction like “no subtitles and no music” to keep your raw video file clean for post-production audio design.
Since we are trying to animate a multi-panel storyboard, set the generation duration to its maximum limit—15 seconds.
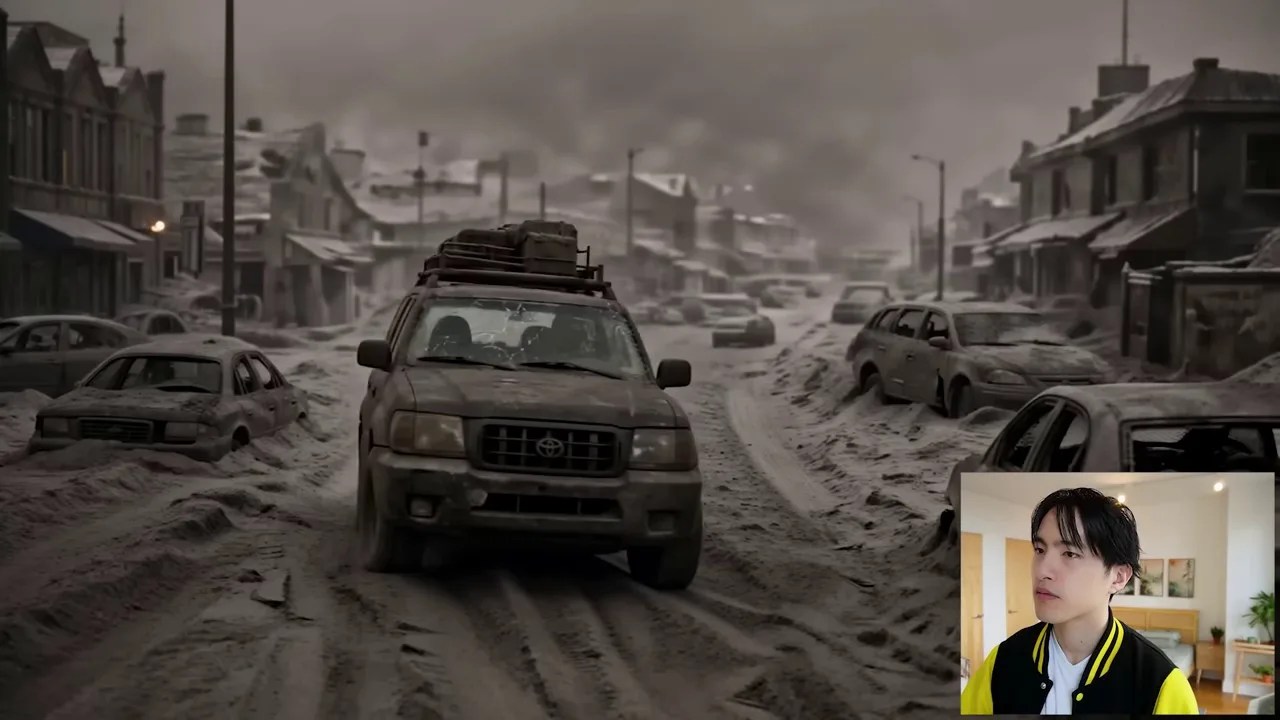
Figure 9: The raw 15-second output, showcasing the model attempting to animate the entire 12-panel storyboard sequence in one go.
When you run the entire 12-panel storyboard through the engine, the output is surprisingly coherent, but it comes with a major catch. Trying to squeeze 12 separate shots into a single 15-second video file forces the AI to rush the pacing. It ends up looking like a hyper-speed slideshow. The model might also skip panels or fail to animate subtle gestures.
While this “all-in-one” method is fantastic for fast-paced, high-energy sequences like an intense action or fight scene, it completely ruins the pacing of a slow, emotional narrative.
7. The Pro Method: Segmented Animation for Maximum Narrative Control
If you want true cinematic pacing and maximum control over your scenes, you need to use the Segmented Animation Method.
Instead of feeding the entire 12-panel storyboard into the video generator at once, crop the storyboard into smaller, manageable rows. I used Photoshop to slice our storyboard into three separate rows, each containing exactly four panels. You can easily do the exact same thing using free tools like Google Slides or Canva.
By scaling down to four panels per 15-second clip, we give the Seadance 2.0 engine plenty of breathing room to render slow, deliberate, and highly detailed camera movements.
Furthermore, our custom Claude skill has already pre-calculated this step for us. When Claude wrote the storyboard earlier, it automatically generated segmented video prompts tailored to each individual shot.
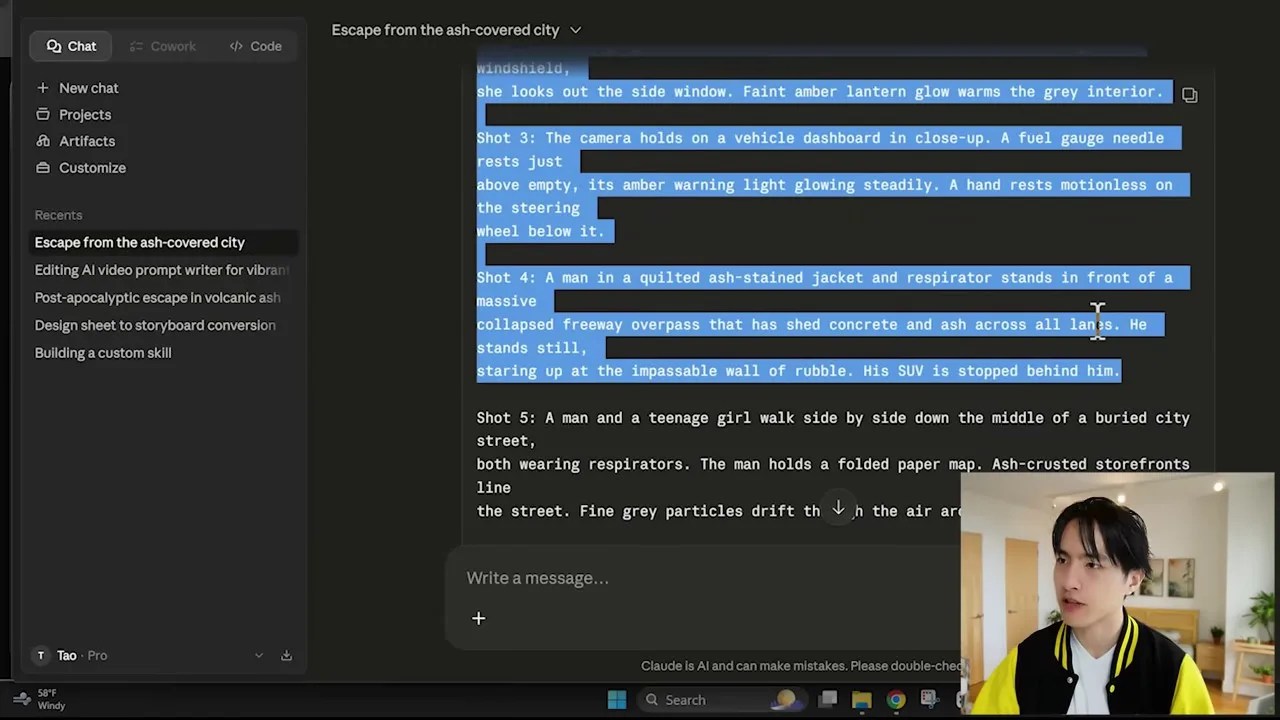
Figure 10: Segmenting the workflow by uploading a cropped 4-panel storyboard row alongside its corresponding Claude-generated prompts.
To run this segmented workflow:
- Upload the cropped 4-panel image strip.
- Copy and paste the corresponding segmented prompt generated by Claude.
- Add a guiding contextual instruction at the very beginning of the prompt: “Generate a scene using shots in the uploaded film storyboard sequence [image1].”
The difference in quality is night and day. The pacing becomes incredibly cinematic. While minor physical glitches may still occur—such as a car wheel spinning slightly while parked—these are easily trimmed out during final editing.
To elevate the scene even further, you can bring the script back to Claude and ask it to write realistic, atmospheric dialogue for the characters during the final sequence (for example, when they are searching for fuel at an abandoned gas station). By overlaying this dialogue and ambient sound effects in a video editor, you transform three separate 15-second clips into a unified, highly professional 45-second cinematic masterpiece.
8. Masterclass Summary: Your Blueprint to AI Cinema
Creating beautiful AI videos isn’t about chasing every new tool that launches on social media. It is about mastering a reliable, highly structured pipeline. By combining the linguistic precision of Claude AI, the visual flexibility of OpenArt (GPT Image 2), and the motion fidelity of Seadance 2.0, you gain total creative control over your characters, your environments, and your story pacing.
Stop relying on random prompt generations. Build your design sheets, lock in your storyboards, slice your sequences for maximum control, and start creating AI films that actually look like they belong on the big screen.
Frequently Asked Questions (FAQ)
Q1: Why should I use Seedance 2.0 over other popular video generators like Runway Gen-2 or Luma?
Seedance 2.0 stands out because of its exceptional ability to follow reference images (like design sheets and storyboards) while maintaining structural integrity. It handles multi-shot sequences much better than competitors, which often warp character features or lose style consistency between cuts.
Q2: How do I prevent my characters from morphing or changing faces between different storyboard panels?
The secret lies in generating a comprehensive “Design Sheet” first. By feeding that design sheet back into the image generator as a style reference (image-to-image) alongside your text prompt, you force the AI to maintain consistent character outfits, facial features, and color palettes across all frames.
Q3: What is the benefit of cropping the storyboard into 4-panel segments instead of animating the whole sheet?
AI video generators have a limited temporal window (usually 15 seconds). If you ask the engine to animate 12 panels in 15 seconds, it has to rush through each scene, leading to choppy pacing and skipped frames. Slicing it into 4-panel segments gives the AI more time per shot, resulting in smoother, more cinematic motion.
If you’re looking for more budget-friendly options, check out our curated list of the 10 Best Free AI Tools available right now.
7 Best AI App For Your Phone In 2026
🎥 Watch Original Video: The ONLY 3 Tools You Need to Create ANY AI Video (by Tao Prompts)